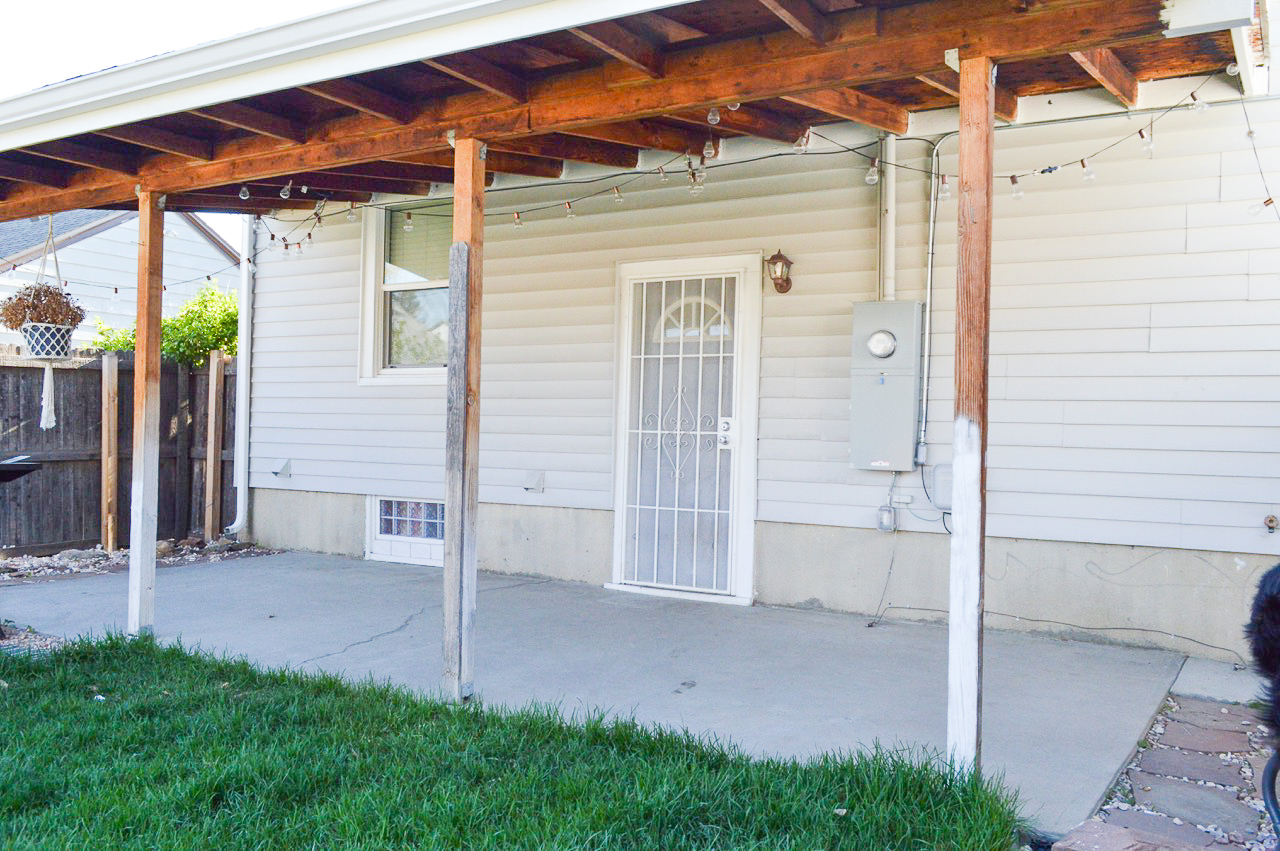
I’m not entirely sure how I got it in my mind to stencil our concrete patio to look like tile, but there it was and I couldn’t shake the idea. I also considered buying an outdoor rug, but those things are expensive and I wasn’t sure how long it would last.
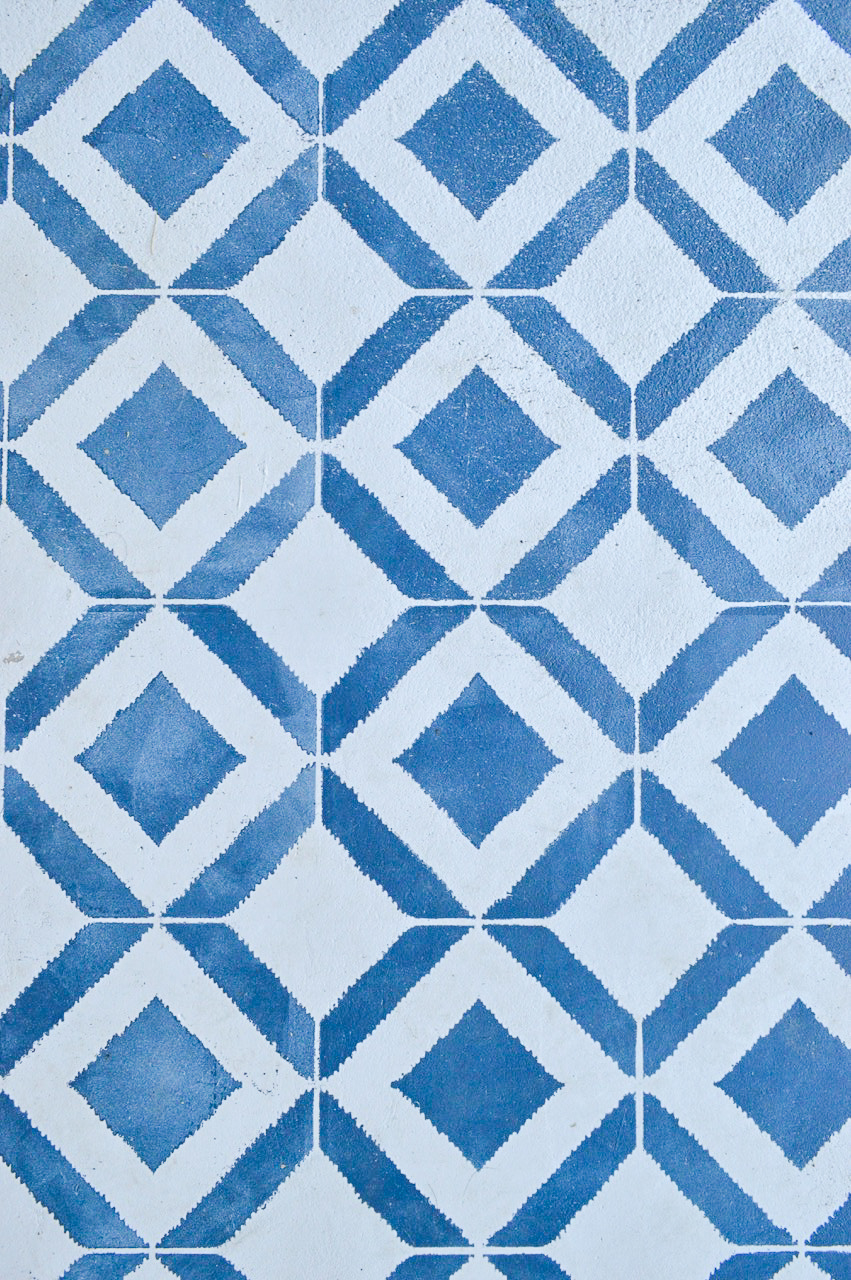
After doing a ton of research on how to stencil an existent concrete patio, I selected my stencil, which was by far the hardest part because there are just so many to choose from! I ordered my Bird’s Eye Ikat Allover Wall Stencil stencil from Royal Design Studio. Once my stencil was on its way, I set off to Lowes to gather my supplies. (This post isn’t sponsored by Lowe’s. It has just evidently become my new favorite store. Homeownership – le sigh. I never thought this day would come) Our patio is around 230 square feet so you might need more paint depending on how big your patio is if you want to recreate this look.
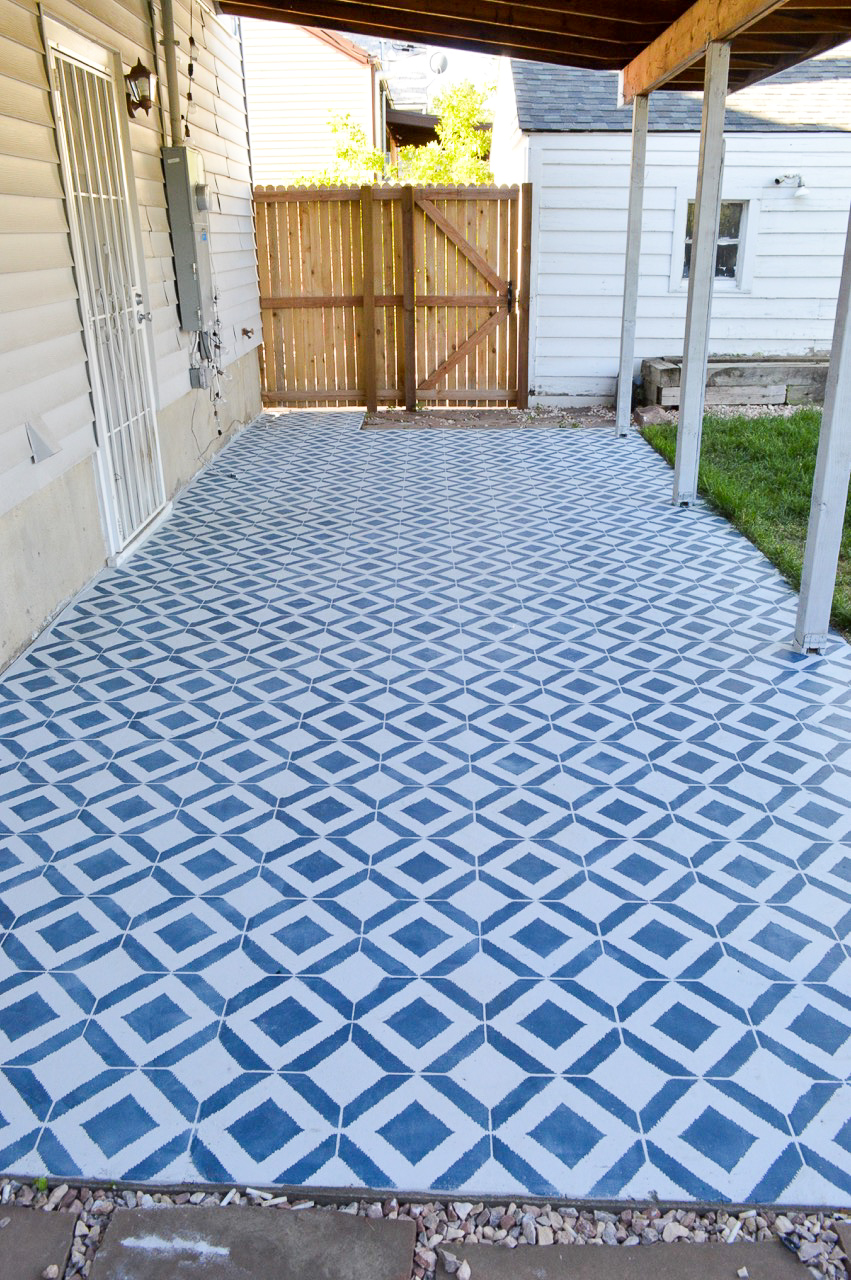
I will say that I am so happy with the results. It looks better than I could have even imaged in my head, and it was worth the effort. We have gotten so many compliments on it too! My mother-in-law even asked me where I got the tile, and she was shocked when I told her it was stenciled. I will be sharing later the furniture and decor we added to complete the look. What started as an old existing concrete patio with very little character, has transformed into a little oasis that we love hanging out on and having friends over to enjoy with us!
How To Stencil an Existing Concrete Patio
Supplies
Large stencil
Valspar Fast Prep
Valspar Porch, Floor & Patio – Satin/Base 2: 1 gallon + 1 pint of base paint
Valspar Porch, Floor & Patio – Satin/Base 4: 1 pint of accent stencil color
Paper Towels
2 gallons of Valspar Protective Sealer
2 Valspar paint rollers: Textured walls, concrete & decks
Extension Pole
Paint tray
Mini-foam roller with paint tray
Stiff large paint brush
Small brush
Painter’s Tape (optional)

How To Stencil an Existing Concrete Patio:
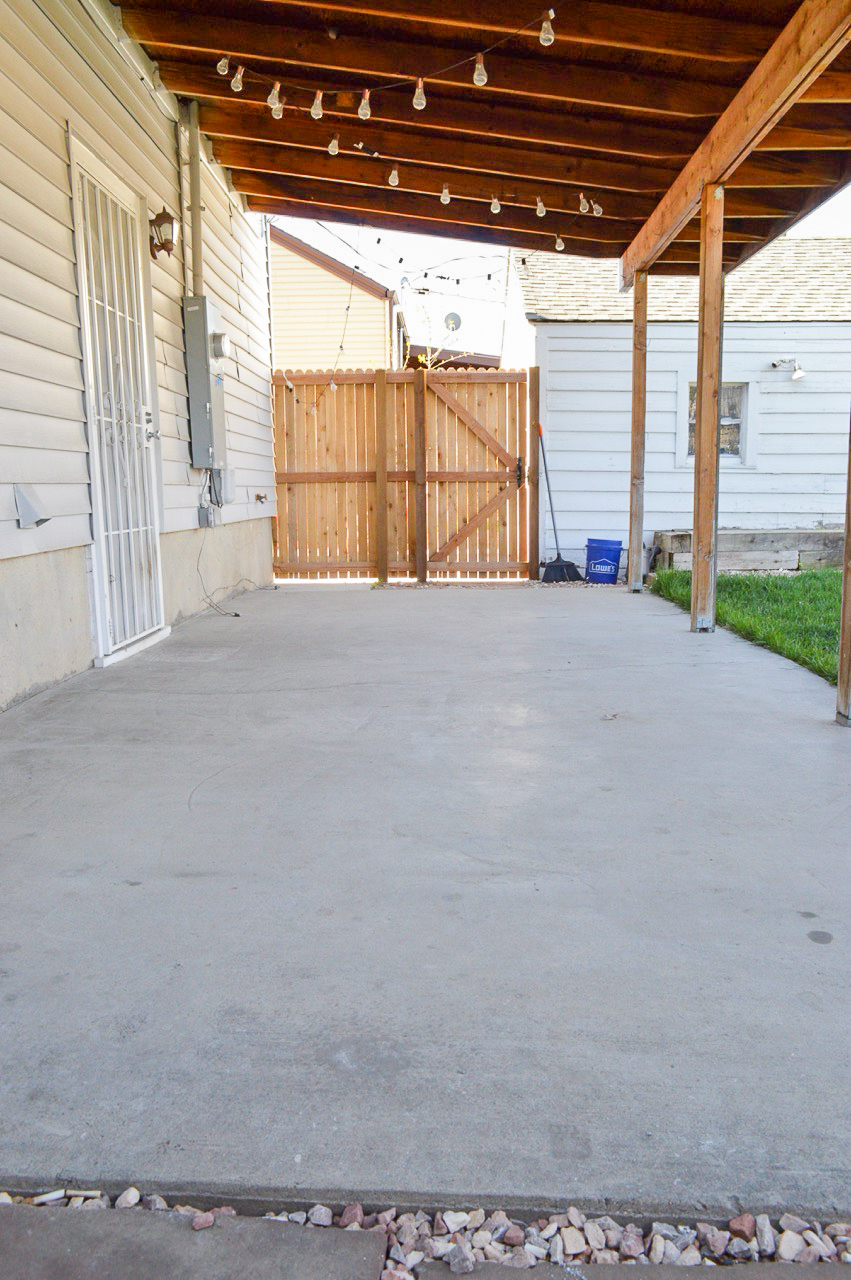
Step 1: Clean off your concrete. There are a couple ways to do this. I used the jet setting on my garden hose, but you can use a power washer. While the concrete is still wet, apply the concrete cleaner with a watering can then swish it around with a stiff broom. You want to make sure it gets into all the little grooves of the concrete. Rinse with a hose. Let completely dry for a day.
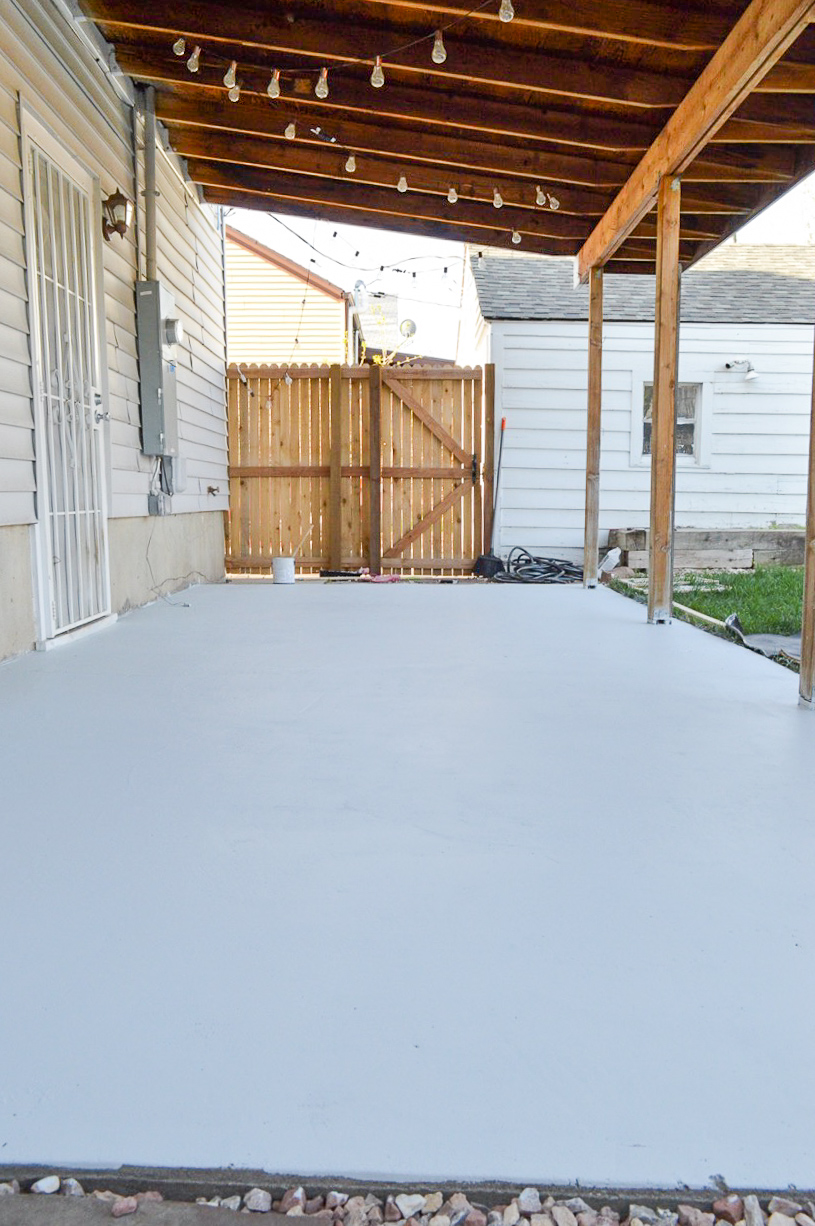
Step 2: Apply your base coat color. We used Valspar Porch, Floor & Patio paint in “New Concrete.” This was a light grey color that instantly brightened the space. Stir paint with wooden paint stir stick then pour a small amount into your paint tray. I applied the paint with a foam roller with an extender attached. Simply start at one end of your patio then work backwards. Let dry for an entire day. I also had a stiff large paint brush handy to get into some of the deep ridges of our patio. We didn’t tape off our patio because we have plans to paint our exposed foundation later, but if you don’t want paint on your house definitely apply painters tape onto the side of your house from the crease to a few inches up to ensure paint only goes onto your patio!
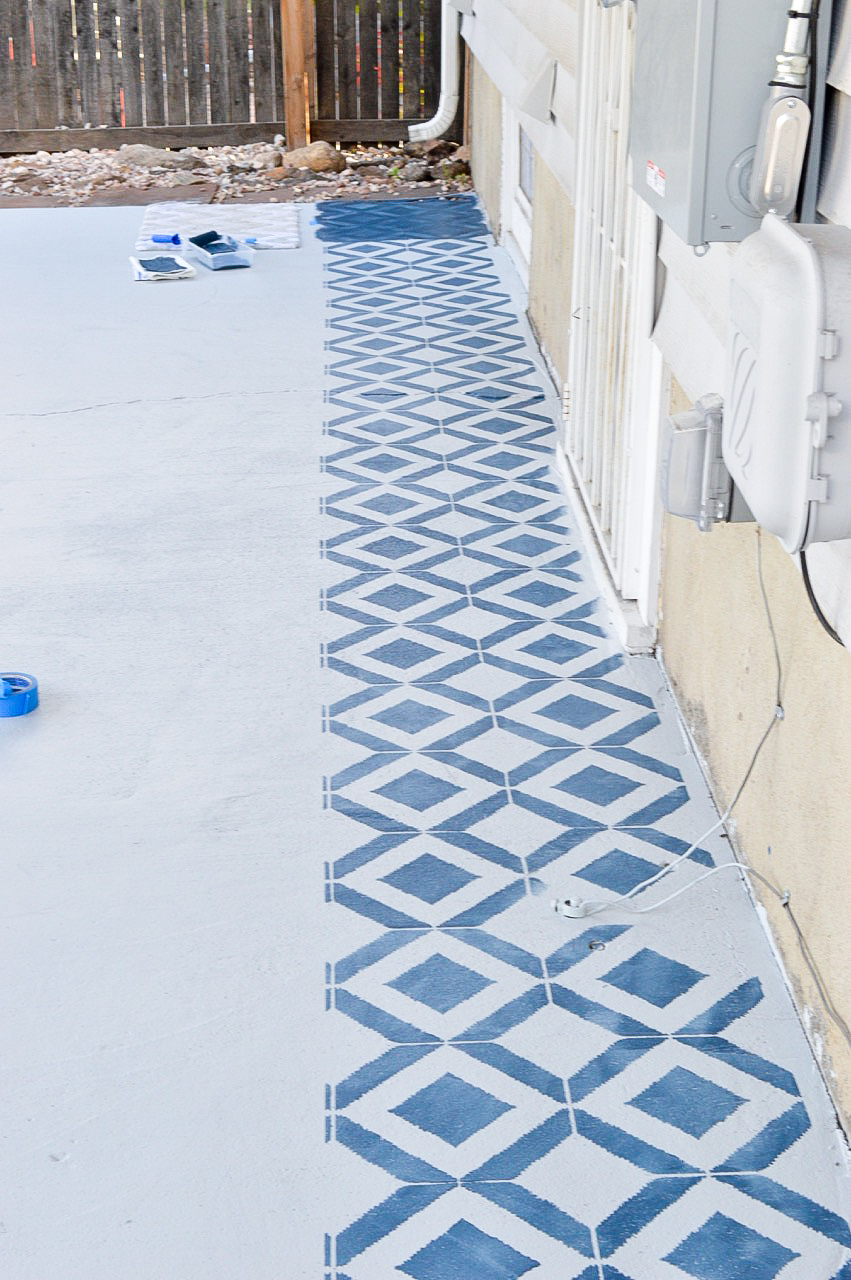
Step 3: This is by far the most time consuming set, so prepare yourself. Align your stencil in one corner of your patio. You can use painters tape to secure it to the ground if you are using a large stencil. Stir paint with a wooden stir stick then pour your second accent color of paint into the mini-foam roller paint tray. Don’t fill it too full. I used Valspar Porch, Floor & Patio paint in “Midnight Blue” as my accent color. Roll roller into paint then do a few rolls into the top part of the tray to remove excess paint, finally do a light roll against a stack of paper towels. The key to stenciling is having just enough paint on your roller to give you a nice coat of color but not seep under the stencil. Finally gently roll paint over the stencil until all the spaces are covered. I did my paint a little unevenly because that was the look I was going for. For a more opaque look, do a second light coat. Carefully remove the stencil and position it into the next spot. Most stencils will have guides to help you. Once you are at the end of your patio, go back to the end you started at, move one row over with the help of the guides and repeat the process.
The hardest parts of my patio were working around my pillars and two grounding wires. For the pillars, I maneuvered the stencil to be able to get as mush of the pattern down with the roller. Then any spot that wasn’t reached, I went back in with a small paint brush and hand drew the pattern. I saved the grounding wires for last, as I decided to snip two small cuts into my stencil to help in lay flatter against the ground to be able to use the roller.
Step 4: After your hard work stenciling, relax as you let the paint dry for a day. Once the paint is dry, put on some clean white socks, and go around and do any touchups with a small paint brush. Wait a few hours to let the touchups dry, then apply the sealer.
Step 5: Apply the sealer. Pour sealer into your cleaned out paint tray or new tray. Work in the same way you applied your base coat starting at one end of your patio and working backwards. Use a new foam roller to ensure it is 100% clean.
Big things to note: do not leave your stencil set with wet paint, if you do when you go to move the stencil it will rip the base coat up too.
Happy stenciling!
x vanessa

How To Stencil an Existing Concrete Patio


[…] decor, which included buying the supplies to paint and stencil our concrete. You can check out my post here on how I painted and stenciled our concrete slab. The largest part of the budget went to the […]